Praktikum kali ini yaitu menyalakan led pada board Esp32 menggunakan Bluetooth low energy atau biasa disingkat BLE,
BLE merupakan kepanjangan dari Bluetooth Low Energy. Secara marketing lebih dikenal dengan nama Bluetooth Smart. Bluetooth Low Energy adalah protokol terbaru dari bluetooth dan merupakan bagian dari protokol yang lebih besar yaitu Bluetooth 4.0, spec ini mencakup Bluetooth LE, Bluetooth High Speed dan juga Bluetooth klasik.
Bisa dikatakan BLE ini merupakan generasi kekinian dari Bluetooth klasik. Yang berarti BLE memiliki keunggulan dibanding Bluetooth klasik. Keunggulan Bluetooth LE dibandingkan Bluetooth klasik adalah konsumsi energi listrik dari BLE untuk transfer data jauh lebih kecil dibandingkan dengan Bluetooth klasik tapi dengan jangkauan konektifitas dan kapasitas payload transfer data yang sama.
Alat dan bahan yang digunakan adalah :
- Board Esp32
- Arduino IDE
- Aplikasi BLE Scanner
- Kabel USB untuk menghubungkan board dengan komputer
- Led yang digunakan Led pada board Esp32
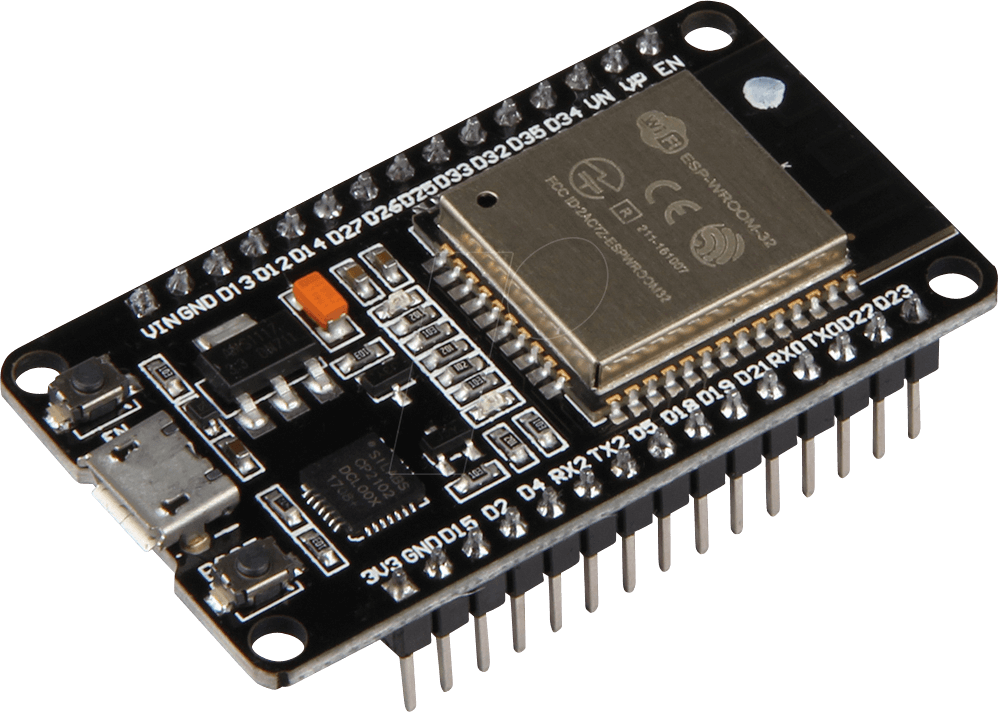 |
Board Esp32
|
Sebelum melangkah ke tahap sketch program hal yang perlu disiapkan adalah :
- Install terlebih dahulu library BLE pada arduino IDE, masuk ke menu tools → manage libraries kemudian pada kotak pencarian tulis "BLEDevice" kemudian install.
 |
BLE library
|
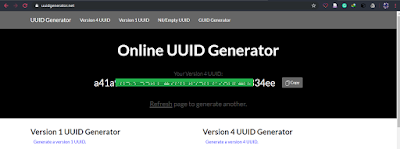 |
Kode UUID
|
Sketch program :
Setelah selesai menuliskan kode pada Arduino IDE, kemudian pilih board ESP32 dan sesuaikan port yang digunakan selanjutnya upload Sketch Program, tunggu hingga proses upload selesai dan buka serial monitor pilih range 115200 baud, tekan EN pada board.
Maka aka muncul seperti gambar dibawah ini:
 |
Serial Monitor
|
Selanjutnya hubungkan Bluetooth pada board dengan aplikasi BLE Scanner yang telah diinstall di smartphone dengan menekan CONNECT.
Kemudian akan diarahkan ke menu device yang terhubung, pilih CUSTOM SERVICE dan klik huruf W pada sisi kanan layar, maka akan muncul jendela "input text", pada sketch program kita telah mengatur bahwa jika TEXT yang dimasukkan ON maka led akan menyala dan jika OFF maka led akan mati.
 |
Input ON
|
 |
Tampilan pada serial monitor
|
*Source
IoTbyhvm.ooo


 Kemudian akan diarahkan ke menu device yang terhubung, pilih CUSTOM SERVICE dan klik huruf W pada sisi kanan layar, maka akan muncul jendela "input text", pada sketch program kita telah mengatur bahwa jika TEXT yang dimasukkan ON maka led akan menyala dan jika OFF maka led akan mati.


Komentar
Posting Komentar